DIY Cabinet Crown Molding Installation: A Beginner's Tutorial
DIY Cabinet Crown Molding Installation: A Beginner's Tutorial
Ready to promote your kitchen's aesthetic without gutting the entire space? Cabinet crown molding is the perfect detail to add a custom, built-in look to your existing cabinetry. This tutorial will guide you through the process of installing crown molding on your cabinets and transforming your kitchen into a polished, high-end space.
Why Cabinet Crown Molding?


- Conceal imperfections: Hides gaps or inconsistencies between the tops of your cabinets and the ceiling.
- Define a space: Creates a visual cap that makes your kitchen feel complete.
- Increase home value: Boosts appeal and resale value.
- Enhance style: Complements both classic and modern designs.
Gathering Your Tools and Materials
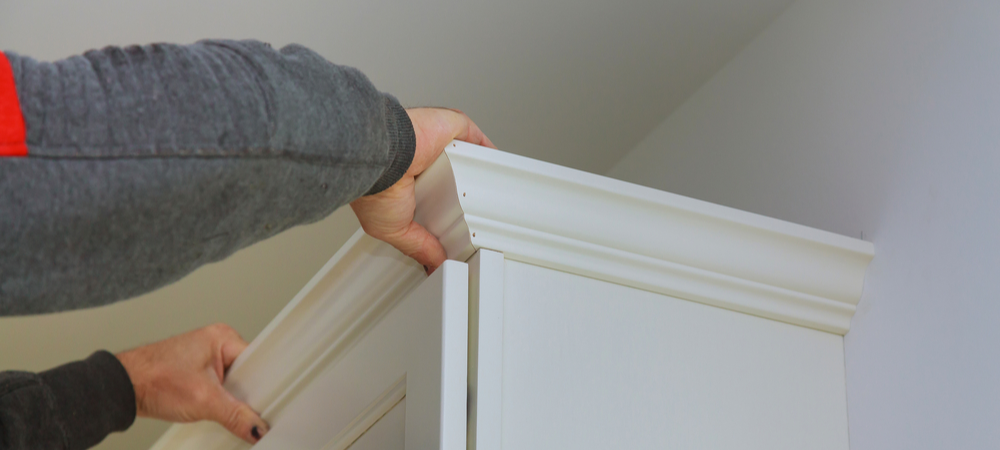

Tools
- Miter Saw: This is arguably the most crucial tool for accurate angle cuts.
- Tape Measure: For accurate measurements.
- Pencil: For marking cuts and locations.
- Caulk Gun: For applying caulk to fill gaps.
- Brad Nailer: For fastening the molding to the cabinets.
- Safety Glasses: Always protect your eyes!
- Dust Mask: For respiratory protection, especially when performing tasks that involve cutting or sanding.
- Sanding Block or Sandpaper: For smoothing edges.
Materials
- Crown Molding: Choose a profile that complements your cabinet style. Consider materials like MDF (cost-effective and easy to paint) or solid wood.
- Wood Glue: For securing mitered joints.
- Brad Nails: Select the appropriate length for your molding thickness, typically 1-1.5 inches.
- Wood Filler: To fill nail holes.
- Paintable Caulk: For sealing gaps and creating a seamless finish.
- Paint: To match your cabinets or a complementary color.
Understanding Cabinet Crown Molding Angles


Cuts involve both a miter and bevel angle. Most saws support the common angles: 31.6° miter and 33.9° bevel. DIYers prefer cutting molding upside down and backward for simplicity.
Step-by-Step Installation Guide
Step 1: Measure and Mark
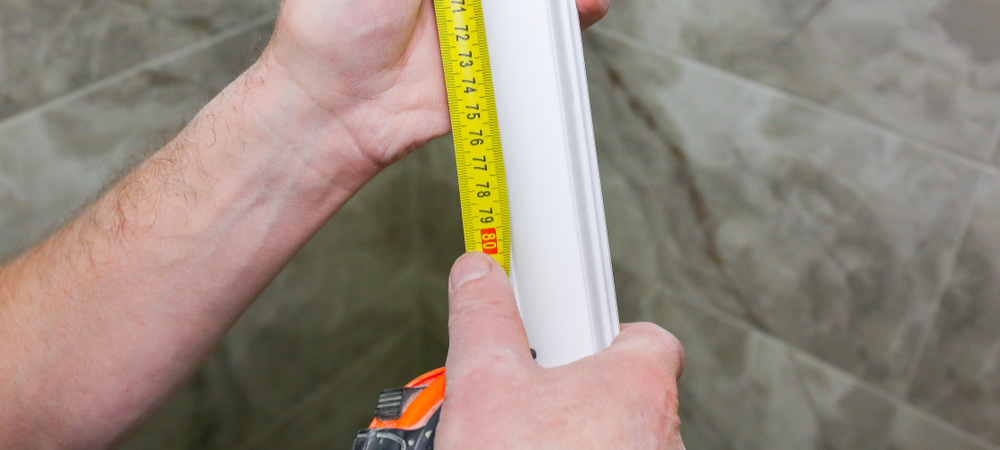

Measure cabinet runs and mark cuts. Always measure twice, cut once.
Step 2: Cutting Inside Corners (The Coping Method)
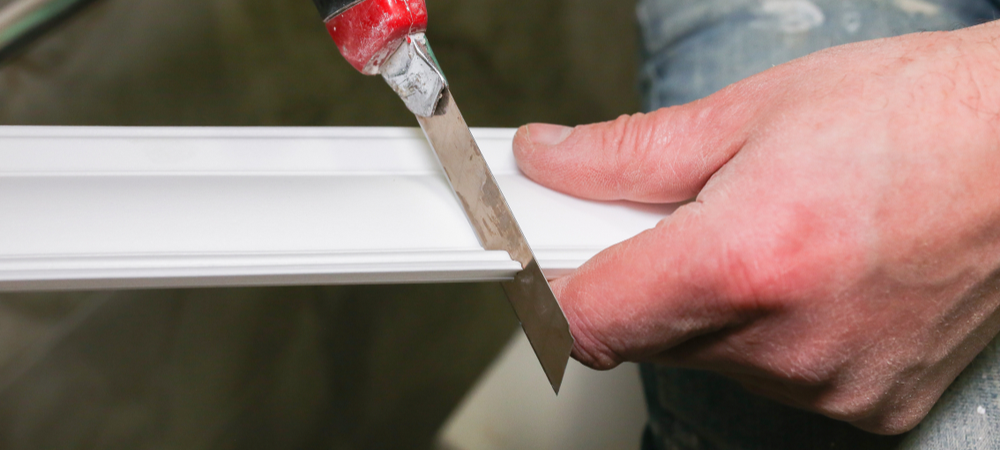

Cut the first piece at a 45° miter. Use a coping saw to follow the profile. Test fit to ensure precision.
Step 3: Cutting Outside Corners

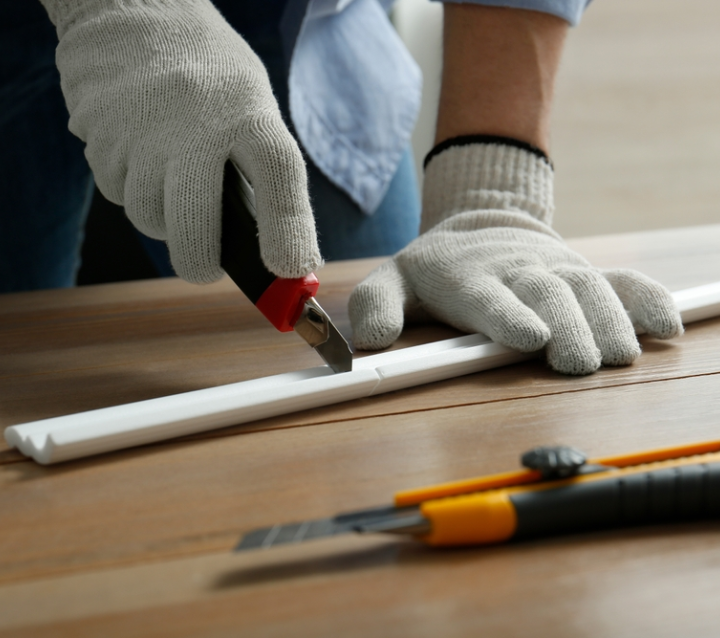
Use standard 45° miter cuts. Account for "upside down and backward" cuts if using that technique.
Step 4: Nailing the Molding
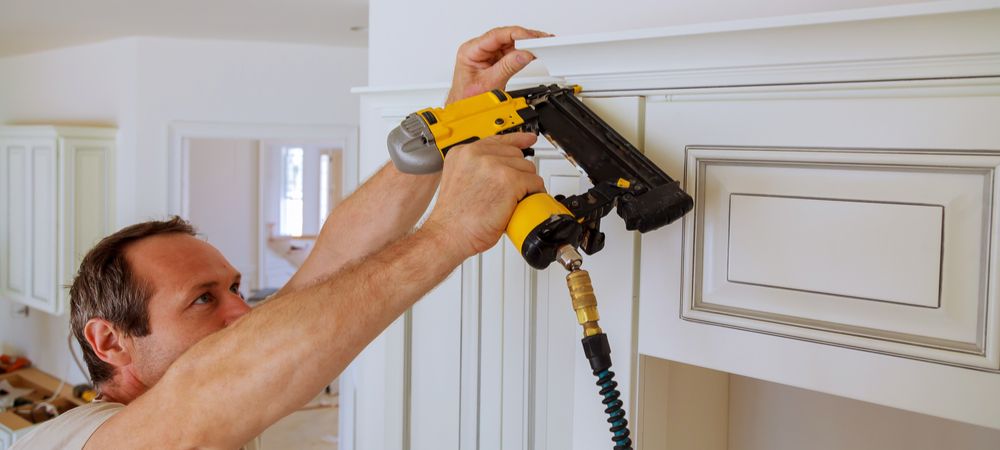

Start with long runs. Apply wood glue at joints. Nail every 12–18 inches using a brad nailer.
Step 5: Fill, Caulk, and Paint


Once all the molding is installed, use wood filler to fill all nail holes. Let it dry completely, then lightly sand it to a smooth finish. Apply paintable caulk to all seams and gaps where the molding meets the cabinet. Use a damp cloth or your finger to smooth out the caulk lines for a clean finish. Once the caulk is dry, paint your cabinet crown molding to match your existing cabinets or a complementary color.
Ready to transform your kitchen with stunning new cabinetry and perfect crown molding?
Explore our wide range of styles, from the timeless appeal of our Traditional Cabinet Styles to the sleek simplicity of our Modern Cabinetry options. Don't forget to check out our durable and stylish RTA (Ready-to-Assemble) Kitchen Cabinets for a cost-effective and high-quality solution.
Order a Sample Door today to experience the quality firsthand, or take advantage of our Free Design service to kickstart your renovation project!
The Cabinet Distribution Difference
Beyond perfecting your cabinet crown molding, the foundation of a gorgeous kitchen or bathroom often lies in high-quality cabinetry. When you're planning your next home improvement project, choosing the right cabinet supplier can make all the difference. We take pride in our distribution model, which offers unparalleled benefits to our customers.
We understand that time is valuable. That's why we offer lightning-fast shipping – most orders ship in just five business days. No more waiting weeks or even months for your dream kitchen or bathroom to arrive. This speed doesn't come at the expense of affordability. We are committed to providing the Best Priced Cabinets on the market without compromising on quality or style. We believe everyone deserves a beautiful and functional space, and our pricing reflects that commitment.
Are you concerned about making the right choice without being able to see it in person? Our Refundable Samples policy allows you to order a sample door, experience the quality, and view the finish in your own home. If it's not exactly what you envisioned, the sample cost is refunded when you proceed with your cabinet order. For those contemplating a bathroom refresh, our
Whether the classic charm of
Final Thoughts
Adding cabinet crown molding is a rewarding project that can dramatically heighten the look and feel of your kitchen. By following these steps and taking the time to make accurate measurements and cuts, you'll achieve a professional finish that adds significant value and beauty to your space.
Combine this newfound skill with our high-quality, affordably priced cabinetry and lightning-fast shipping, and your kitchen renovation dreams are closer to becoming a reality than ever. Get started today and enjoy the transformation!


